
5 Easy DIY Hamster Toys

Keeping a hamster engaged doesn’t require expensive store-bought gear. With a few household items and the right safety checks, you can create DIY hamster toys that encourage foraging, chewing, climbing, hiding, and gentle exploration.
Below you’ll find a complete, safety-first guide with practical ideas, size tips for Syrian and dwarf hamsters, and simple maintenance routines that make enrichment easy for you and genuinely fun for them.
What Makes a Great Hamster Toy?
A great toy does three things: it supports natural behaviors, it’s made from safe materials, and it fits your hamster’s size.
Hamsters instinctively dig, chew, hoard food, and explore tunnels. Toys that mimic those instincts—like shreddable cardboard, puzzle feeders, and low platforms—help reduce boredom and stress while adding variety to the habitat.
Prioritize non-toxic, chew-safe materials and a design that won’t trap toes, nails, or whiskers.
A Quick Safety Note (Read This First)
Choose untreated, non-toxic materials (plain cardboard, kraft paper, PVA/“school” glue used sparingly on non-chew joints).
Avoid aromatic softwoods (like fresh pine/cedar), fluffy/loose fibers, rubber bands, staples, and expanding glues.
Sand and smooth any cut edges or wooden pieces to prevent splinters.
If your hamster can chew a glued joint, redesign it to be friction-fit (tabs/slots) or tied with sisal instead of glue.
Remove any damaged toy immediately and replace if it becomes damp or soiled.
Materials: Safe vs. Avoid
Safe choices: plain cardboard (no glossy ink), kraft paper, paper egg cartons, paper tape, untreated hardwood craft sticks (edges sanded), sisal twine, PVA glue in tiny amounts on non-chew areas.
Use cautiously: hot glue (only as a temporary clamp on areas your hamster cannot reach to chew).
Avoid: aromatic softwoods (fresh pine/cedar), dyed or glossy card, cotton/fluffy bedding fibers, rubber bands, staples, string that frays into long hairs, expanding polyurethane glues.
Quick Size Guide (So Nothing Gets Stuck)
Tunnels & openings (Syrian): ≥ 5 cm (2 in) diameter.
Tunnels & openings (Dwarf): ≥ 3–4 cm (1.25–1.6 in) diameter.
Platform height: low, with a safe step or ramp; add soft bedding below to cushion jumps.
Sizing matters: correct diameters protect whiskers, shoulders, and hips; generous openings also make toys more inviting.
The Toys (Five Builds with Purpose)
Below are five easy builds. Each includes purpose, materials, how to assemble (brief), and safety & pro tips to help you set up quickly and confidently.
1) Cardboard Tube Tunnels (Explore + Confidence)
Purpose: Encourage exploration and gentle confidence-building in a familiar, chew-friendly material.
Materials: Plain cardboard tubes (paper towel rolls for Syrians; toilet-roll tubes for dwarfs if diameter is sufficient), paper tape, optional kraft paper to “join” sections.
How to make it:
Create a simple tunnel run by nesting one tube slightly into another and securing the outside seam with paper tape.
Cut a window hole in the side (respecting the diameter guide) to function as a peek-through and emergency exit. Arrange sections in a loose S-shape to invite natural turning and sniffing.
Safety & pro tips:
If a tube is too narrow, split it lengthwise, flare it wider, and re-tape the seam externally with paper tape.
Keep ends flared (don’t hem them inward) so whiskers don’t snag.
Rotate tunnel shapes weekly to keep novelty high.
SEO boost: Cardboard tunnels for hamsters are a classic, safe enrichment that costs almost nothing.
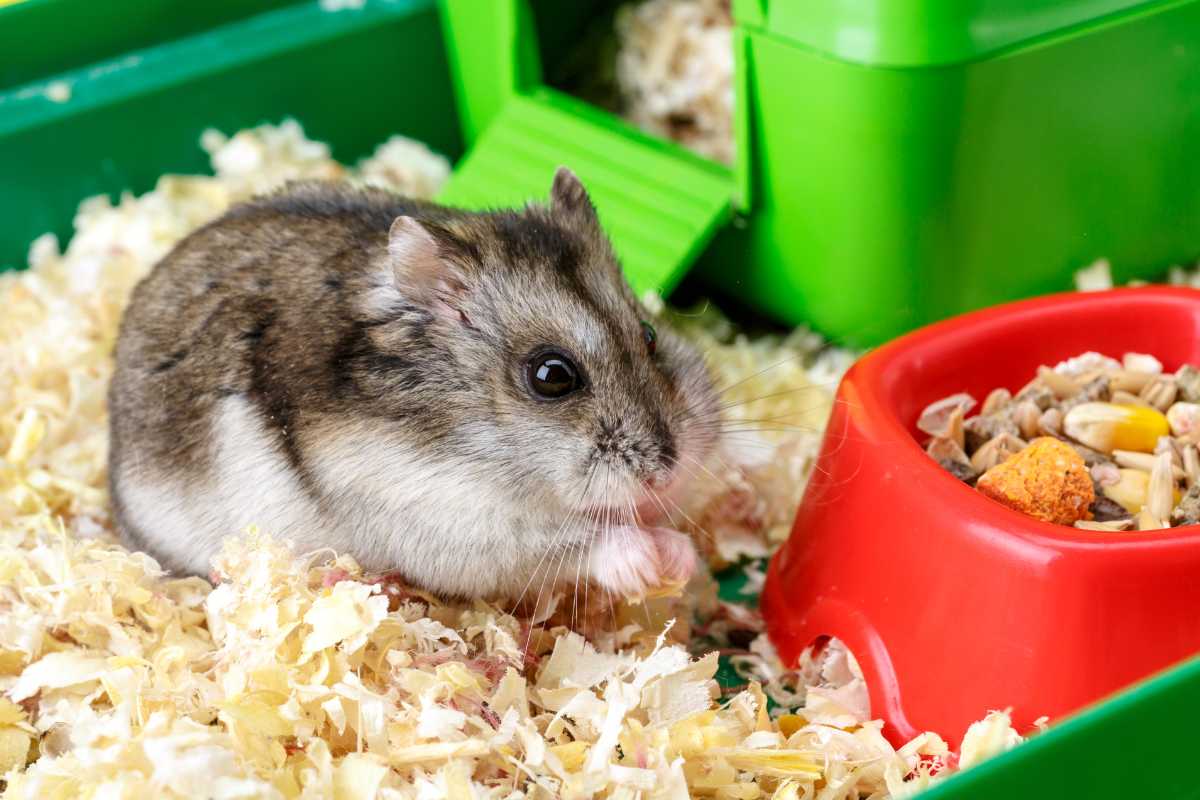
2) Egg-Carton Foraging Puzzle (Forage + Problem-Solving)
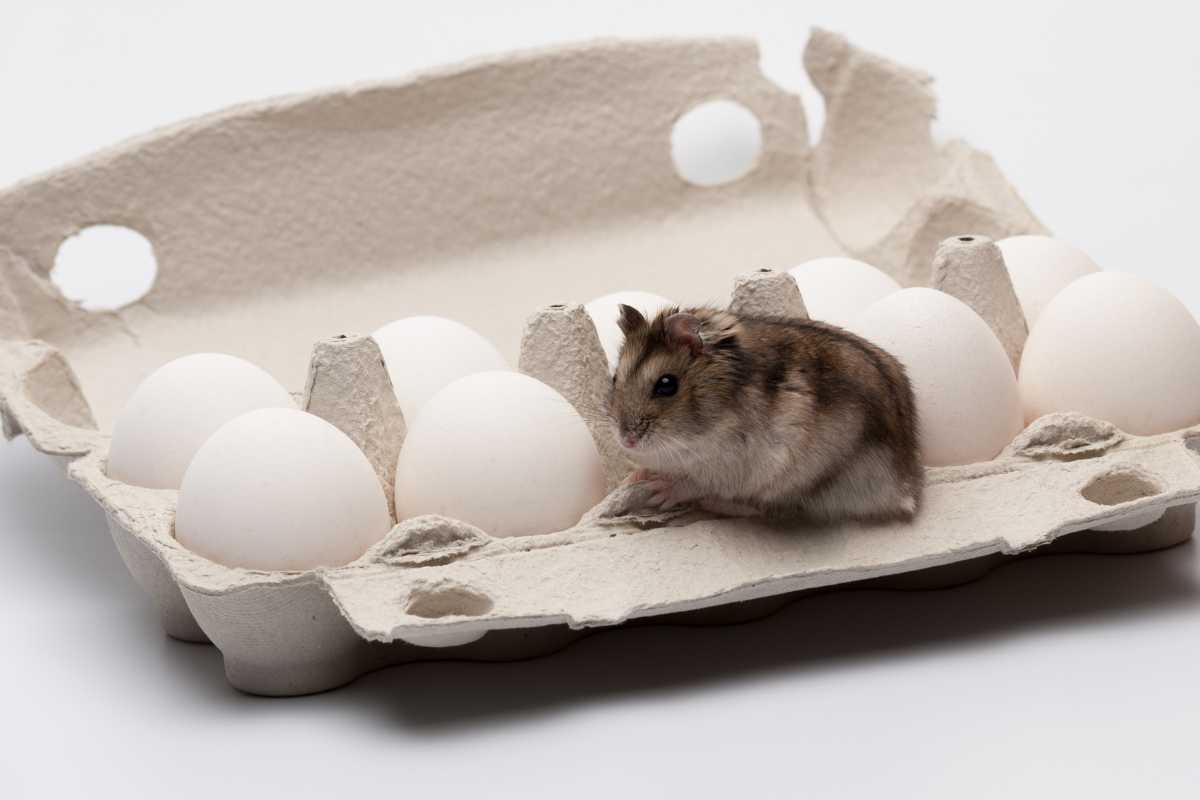
Purpose: Promote foraging and problem-solving with a simple snuffle-style puzzle.
Materials: Paper egg carton (no glossy ink), a pinch of safe substrate (shredded plain paper), a few healthy treats or pellets
How to make it:
Snip the lid into flaps and leave them loosely closable. Place tiny piles of shredded paper in a few cups, sprinkle microscopic treats (think half sunflower seed or a pellet nib), close the flaps loosely, and place the carton in the enclosure.
Safety & pro tips:
Start easy (half-closed) and increase difficulty gradually to avoid frustration.
Keep portions tiny to protect diet balance and prevent hoarding excess.
Replace if the carton becomes damp; paper breaks down quickly if soiled.
SEO boost: A DIY foraging toy for hamsters turns mealtime into enrichment.
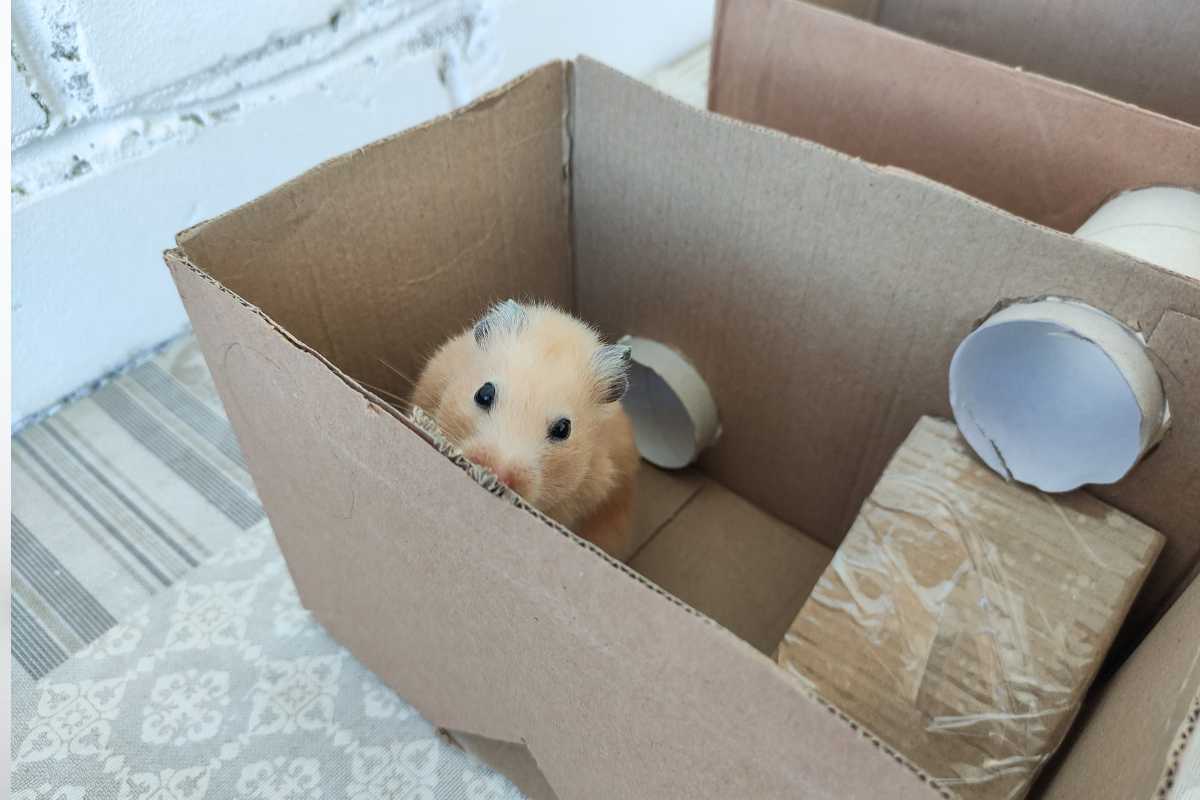
3) Shreddable Nesting Box (Hide + Chew + Shred)
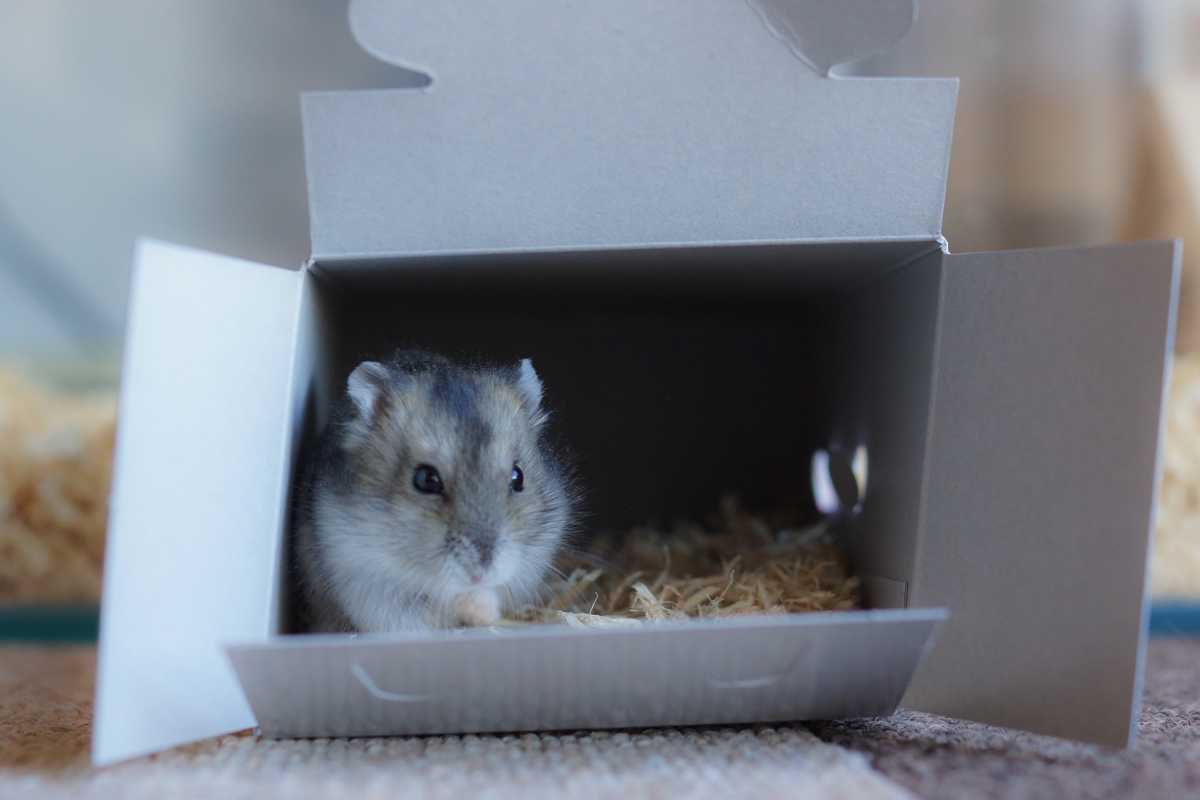
Purpose: Offer a cozy hideout that doubles as a shreddable chew project—great for stress relief and natural nest-building.
Materials: Small plain cardboard box (no tape inside), round entry hole sized per guide, handful of plain paper strips.
How to make it:
Cut a single round entry on the side. Score light vent slits on the top for airflow (optional). Place a few paper strips inside to invite nesting.
Safety & pro tips:
Round entries reduce snagging risks. Smooth all edges with fine sandpaper or rub with another piece of cardboard to de-burr.
If you want a second “escape” hole, keep it the same diameter as the main entry.
Remove if heavily chewed through (sharp edges can form when soggy cardboard tears).
SEO boost: A hamster hideout DIY that’s safe, cozy, and chew-friendly.
4) Low Climbing Bridge + Platform (Climb + Survey Safely)
Purpose: Encourage gentle climbing and give your hamster a lookout without risky heights.
Materials: Untreated hardwood craft sticks (edges sanded), sisal twine or paper tape, optional PVA in tiny amounts for non-chew joints, short cardboard supports.
How to make it:
Create a short bridge by lining sticks side-by-side and weaving two narrow strips of sisal across them (like a ladder rung, but flat). Attach both ends to stubby supports so the bridge rises slightly to a low platform (a cardboard square). Keep the platform only a few centimeters above bedding.
Safety & pro tips:
Sand everything. If you must stabilize a joint, use minimal PVA on the underside where teeth can’t reach, or favor twine lashings.
Place soft, deep bedding underneath to cushion jumps.
Skip steep ramps; aim for a shallow incline that tiny feet can grip.
SEO boost: Hamster climbing toys can be safe and low while still enriching.
5) Treat-Dispenser Roll (Work for Rewards)
Purpose: Make your hamster work a little for treats, boosting mental stimulation and slow foraging.
Materials: Cardboard roll (sized per guide), a bit of plain paper to form end caps, pin-sized holes along the body, a few tiny treats or pellets.
How to make it:
Poke tiny dispensing holes along the tube (just large enough for a crumb to fall out when rolled).
Fold paper end caps and friction-fit them (no glue) so they pop out if your hamster insists. Add a micro-portion of treats, cap, and place it in the habitat.
Safety & pro tips:
Keep treats very small; think nutrition first.
If your hamster chews the caps immediately, switch to tighter friction tabs or shorten playtime to supervised sessions.
Replace when softened; damp cardboard loses structure.
SEO boost: A DIY hamster treat dispenser turns snack time into puzzle play.
Rotation & Maintenance (The Secret to Ongoing Engagement)

Even perfect toys get boring if they never change. Build a simple rotation routine:
Rotate 2–3 toys every 3–4 days to refresh scent trails and novelty.
Inspect edges and joints during spot-cleaning; retire anything frayed, sharp, or soggy.
Keep a small “toy library” box with spare tunnels, puzzle lids, and platform parts so swaps are quick and effortless.
This rhythm keeps enrichment dynamic and helps you spot wear before it becomes a hazard.
Behavior-First Enrichment (Match the Toy to the Need)
Choosing the right toy is easier when you think in behaviors:
Foraging: Egg-carton puzzle, treat-dispenser roll.
Chewing/Shredding: Nesting box, cardboard tunnels with peelable layers.
Exploration/Confidence: Curved tunnel runs with peek windows; low bridge to a mini platform.
Comfort/Hiding: Shreddable hideouts with paper strips.
If your hamster seems timid, start with simple, low-effort toys (open tunnels, shallow bridges), then gradually increase challenge (tighter puzzle flaps, more dispenser holes to investigate).
Troubleshooting Common Issues
Ignores a new toy: Rub a tiny bit of used bedding on it to add a familiar scent, or place a single pellet crumb just inside to spark curiosity.
Chews only one spot: That’s okay—chewing is a need. Provide an alternate chew (a spare cardboard ring) nearby so the primary toy lasts longer.
Drags toys into the nest: Normal behavior. Offer duplicates of tunnels/rolls so the habitat still has paths to explore.
Seems frustrated by puzzles: Lower difficulty—half-close flaps, reduce friction on caps, or widen a hole slightly. Enrichment should challenge, not stress.
Simple Accessory Upgrades (Optional but Helpful)

Paper tape labels: Mark sizes (“L tunnel,” “S tunnel”) so you can grab the right diameter fast.
Low-light photo check: At night, snap a quick photo (no flash) to see how your habitat layout flows; you’ll spot dead zones where toys aren’t used and can redistribute.
Alt builds: Replace craft sticks with corrugated cardboard slats if you want a zero-wood option—just layer, sand the cut edges with scrap cardboard, and lash with paper tape.
Quick Reference: Safe Adhesives & Fasteners
Best default: Friction fits, tabs, slots, and sisal lashings (no glue).
Acceptable with care: PVA/school glue, used sparingly and only where teeth cannot reach.
Cautious/avoid: Hot glue (if used, keep strictly out of chew reach), no expanding polyurethane glues, no metal staples.
A Tiny Wellness Disclaimer
These ideas are for educational enrichment. If your hamster shows signs of stress, injury, or illness—changes in appetite, posture, fur condition, or activity—consult an exotics-experienced veterinarian.
Safety and health always come first.
Wrap-Up: Make It Fun, Keep It Safe
With thoughtful sizing, safe materials, and a simple rotation habit, your habitat can transform into a rich, engaging playground.
Start with one or two builds—cardboard tunnels and an egg-carton forager—then add a shreddable hide or low bridge once your hamster is confidently exploring.
Remember: small changes (a new tunnel curve, an extra peek hole, a different dispenser hole pattern) deliver big novelty at nearly zero cost.
DIY hamster toys aren’t just budget hacks—they’re a practical way to support your pet’s natural instincts, promote mental stimulation, and keep everyday care enjoyable for both of you.
Keep it safe, simple, and rotating, and you’ll see your little explorer come to life.
Enjoy The Video About Hamters

Source: All things hamster
Did you find this post useful or inspiring? Save THIS PIN to your Pets Board on Pinterest!

You may also like