
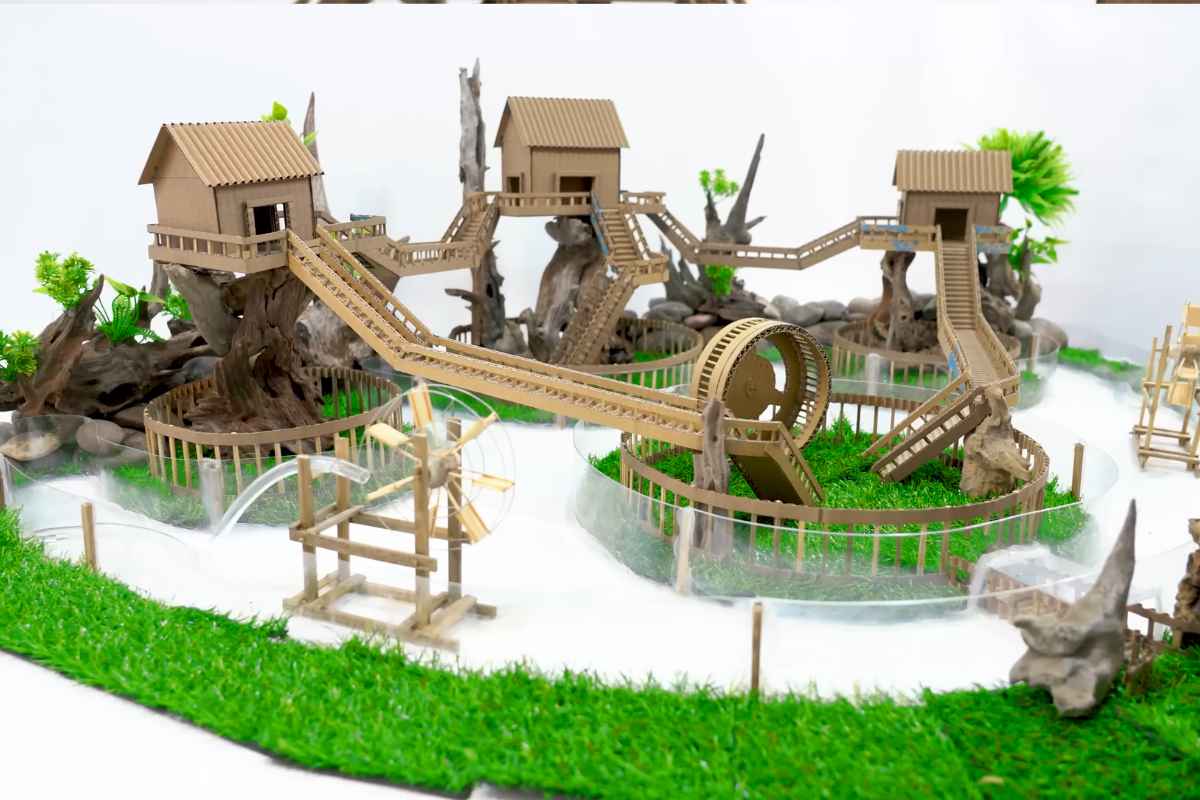
DIY Cardboard Hamster Floating House

Hamsters are curious little creatures that love exploring and staying active.
Providing them with an engaging and fun environment is essential to their well-being, and what better way to do that than by creating a floating cardboard house for your hamster?
This simple, DIY project will not only give your furry friend a cozy home but also a chance to explore and exercise.
In this guide, we will walk you through the entire process of creating this unique and enriching hamster habitat, step by step.
Materials Needed for Your Floating Hamster House
Before we dive into the instructions, let’s gather all the materials you’ll need. Most of these items are easy to find around the house or at your local store, and they’re all safe for your hamster.
Cardboard boxes: Preferably recycled and sturdy enough to hold your hamster’s weight.
Scissors or a craft knife: For cutting the cardboard to the desired shapes.
Hot glue gun or non-toxic glue: To assemble the pieces securely.
Markers or paint: To decorate the house and make it more visually stimulating.
A small plastic container or bowl: This will act as the base for the floating house.
Optional: Decorative elements like string, fabric, or natural wood sticks for extra flair and comfort.
Step 1: Preparing the Base for Your Floating House

The first step is to create a sturdy base for your floating house. This base is crucial because it will support the weight of the house while allowing it to float in the hamster’s enclosure.
Find a small plastic container that is lightweight but sturdy. This will serve as the base of the floating house.
Fill the container with water just enough to give it weight but not too much to sink. This will keep the house buoyant without submerging it completely.
Place the container in the corner of your hamster’s enclosure to determine where you want the house to be placed.
Step 2: Creating the Structure of the Floating House
Now, let’s build the house itself. You’ll need to cut the cardboard into various shapes to form the walls, roof, and floor.
Cut out two pieces for the side walls of the house. These should be large enough to provide space for your hamster to move around comfortably but small enough to fit inside the enclosure.
Cut out a roof piece that will cover the entire top of the house. Make sure the roof is wide enough to provide shelter, but leave a small opening for ventilation.
Cut out a front and back piece. The front piece should have a hole large enough for your hamster to enter and exit easily.
Assemble the walls by gluing the edges together. Ensure that all pieces are securely attached and there are no gaps.
Decorate the house with non-toxic markers or paint. This will make the house look attractive and also give your hamster a visually stimulating environment.
Step 3: Attaching the Floating House to the Base

Once your cardboard house is assembled, it’s time to attach it to the floating base.
Flip the house upside down and apply glue to the bottom edges.
Place the glued edges onto the top of the plastic container that’s filled with water. Press down firmly to ensure the house sticks.
Let the glue dry completely before placing the floating house back in the enclosure.
Step 4: Adding Comfort and Enrichment for Your Hamster
Now that the house is securely floating in your hamster’s habitat, let’s add a few touches to make it even more inviting and enriching for your pet.
Fill the house with soft bedding like shredded paper or soft fabric strips. This will make the house feel like a cozy, safe place for your hamster to rest.
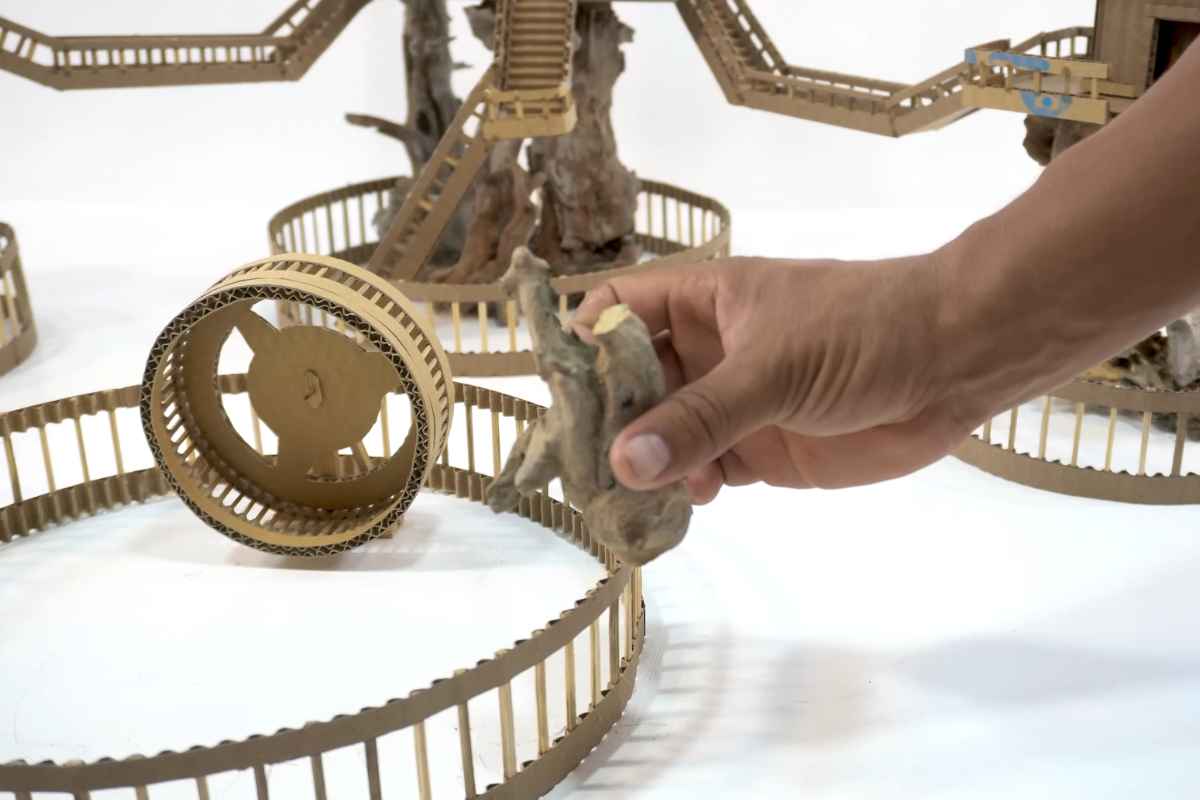
Add small twigs or natural wooden sticks inside or around the house. These can act as climbing structures, giving your hamster a chance to explore and exercise.
Decorate the surrounding area with small toys or tunnels to encourage your hamster to explore its floating home.
Step 5: Monitoring and Adjusting the Habitat
After setting up your floating cardboard house, it’s essential to monitor your hamster’s reactions and adjust the habitat if necessary.
Observe how your hamster interacts with the house. Does it enjoy exploring it? Is the house stable and buoyant? If needed, you can adjust the water level in the container to ensure the house floats properly.
Ensure the house stays clean by regularly changing the bedding and checking for any damage. You may need to replace parts of the house as your hamster plays and chews on it.
Make sure the floating house doesn’t tip over. If you notice any instability, you can add more weight to the base or adjust the size of the house for better balance.
Why a Floating House Is Perfect for Your Hamster

Creating a floating cardboard house isn’t just a fun DIY project; it’s also a great way to enrich your hamster’s environment and give it a unique living space.
Hamsters are curious and active animals, and providing them with a stimulating environment can help reduce stress and encourage natural behaviors.
Here are some of the benefits of having a floating house:
Exercise and Exploration: Hamsters love to climb, explore, and hide in small spaces. A floating house allows them to engage in physical activity and mental stimulation.
Privacy and Comfort: The house offers your hamster a place to rest and retreat. A cozy and safe space is essential for your pet’s well-being.
Low-Cost DIY Project: This project is affordable and environmentally friendly since it uses recycled cardboard and other common materials.
Conclusion: The Joy of Building a DIY Floating House for Your Hamster
Creating a floating cardboard house for your hamster is an easy and rewarding DIY project that provides both entertainment and comfort for your furry friend.
It’s a great way to engage your hamster in natural behaviors while offering them a cozy place to rest. Plus, it’s a fun way for you to get creative and show your hamster some extra love.
As you build the house, remember to prioritize your hamster’s safety and comfort.
Keep the house clean, watch for any signs of wear, and ensure it’s always in a safe and stable position within the enclosure.
Your hamster will surely appreciate the effort, and you’ll enjoy seeing them explore their new floating home!
Would you like to see more creative DIY ideas for your pet’s habitat? Let us know in the comments below!
We hope you enjoy this video about Hamsters

Source: Pet Building
Did you find this post useful or inspiring? Save THIS PIN to your Pets Board on Pinterest!

You may also like