
How to make a CHEAP hamster hideout!


When it comes to providing a cozy home for your hamster, a hideout is an essential part of their habitat.
Not only does it provide a sense of security, but it also offers a private space where your furry friend can retreat to rest or sleep.
Building your own hamster hideout is an affordable and rewarding way to enhance their environment.
In this guide, we'll show you how to create a safe, budget-friendly hideout using common materials, along with tips on enrichment and the importance of choosing non-toxic supplies.
Why Hamster Hideouts are Essential
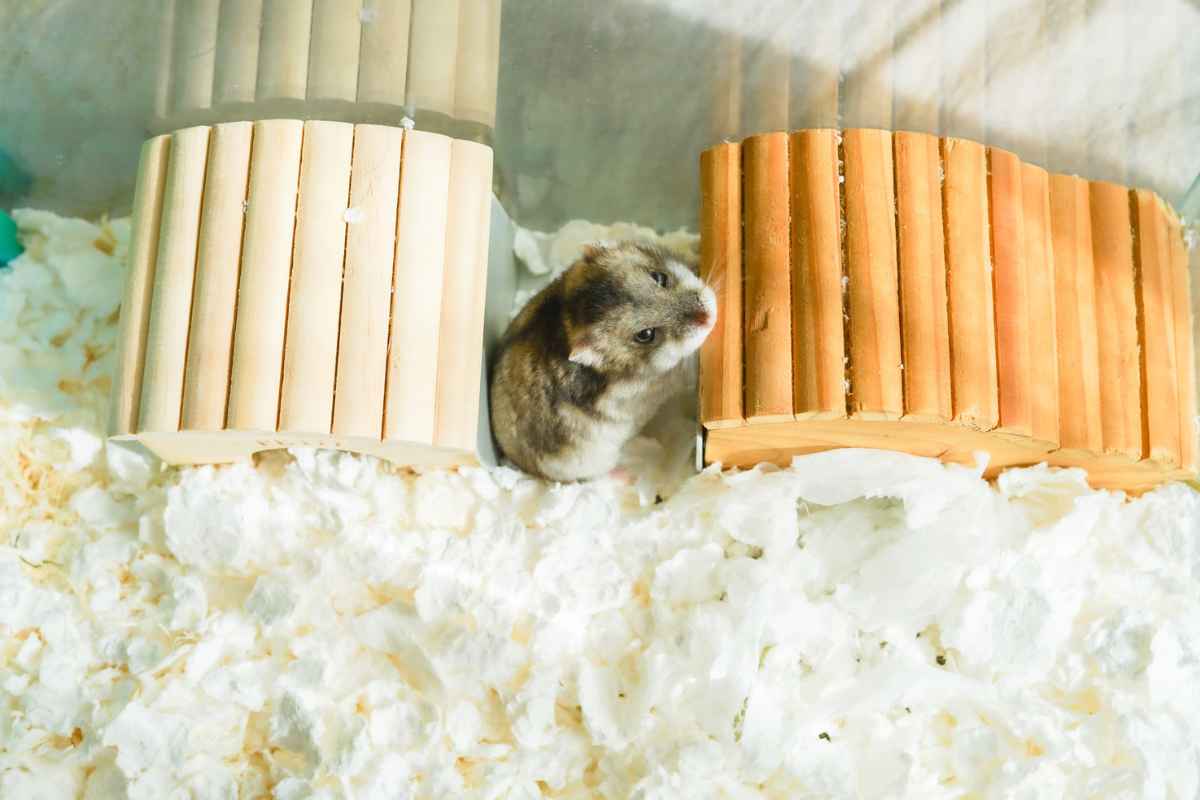
A hamster's hideout serves as a haven, allowing them to feel secure, especially in the face of loud noises or unfamiliar surroundings.
Hamsters are naturally shy creatures and need a place where they can retreat to feel safe and comfortable. A good hideout helps reduce stress and promotes better overall health.
Hamsters are also nocturnal, so they need a quiet, secluded space to sleep during the day. Without a proper hideout, they may become anxious, which can lead to unwanted behaviors.
Fortunately, making a hideout for your hamster doesn't have to cost much. With a few DIY ideas, you can easily create a cozy home for your pet without breaking the bank.
Materials You Can Use for a Hamster Hideout
Before we dive into the construction process, let’s explore some of the materials you can use to create a hamster hideout.
The key is to choose items that are both safe and comfortable for your hamster, as well as affordable and easy to work with. Here are some materials you can use:
Safe Materials
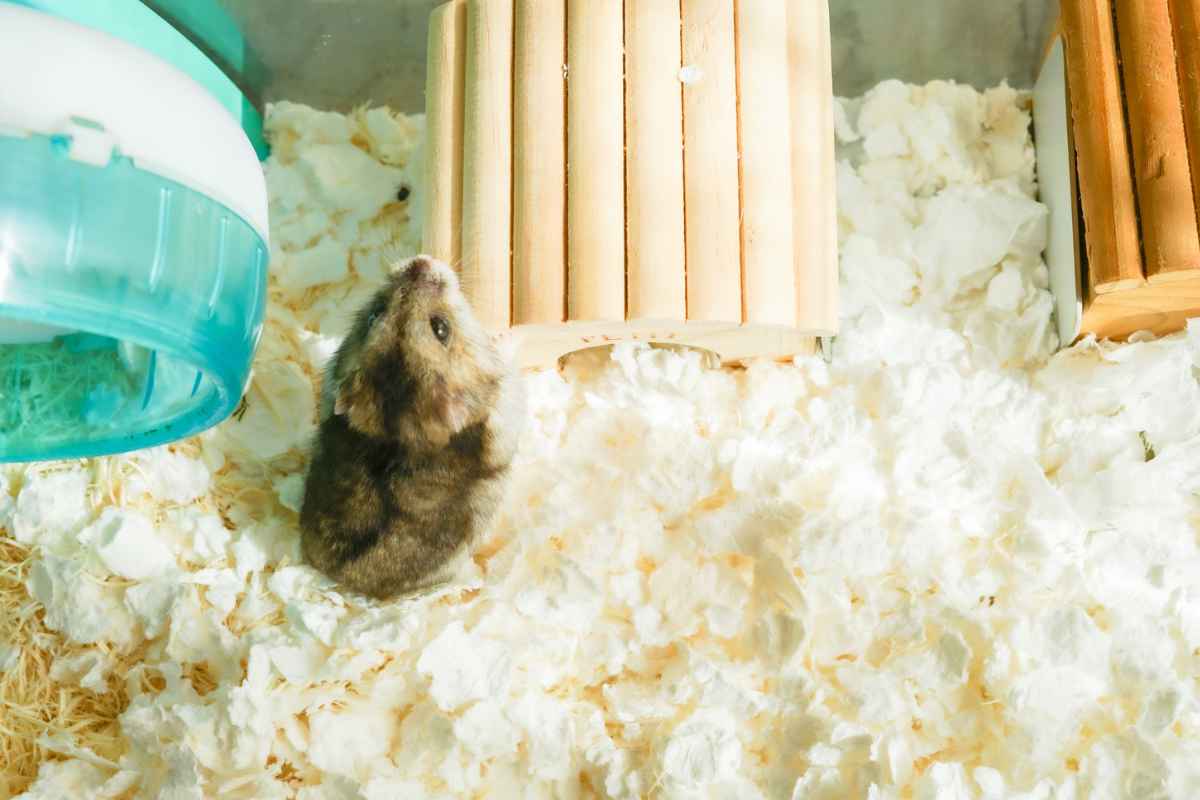
Cardboard Boxes
One of the easiest and cheapest options for a hamster hideout is cardboard. You can use a small cardboard box or cut a larger one into pieces to create a custom hideout. Ensure that the cardboard is free of inks, dyes, or chemicals that could be harmful to your pet.
Plastic Containers
Clear plastic containers or plastic food storage boxes can work well for a hideout. Choose ones with smooth edges to avoid any potential injuries. You can also cut a hole for easy access.
Wooden Blocks or Tunnels
If you have some untreated wood or wooden blocks, you can create a hideout by stacking them or arranging them to form a structure. Wood is a natural material that is safe for hamsters and adds a rustic touch to the hideout.
Shredded Paper or Hay
Shredded paper or hay can be used as bedding inside the hideout. Make sure the materials are soft and absorbent, so your hamster feels comfortable. Avoid using glossy or colored paper, as the inks can be harmful.
Natural Materials
Coconut shells, wooden logs, or bamboo can be used to create an eco-friendly hideout. These materials provide both comfort and a natural look. Just ensure that they are free from any toxic chemicals or sharp edges.
Materials to Avoid
Plastic with Chemicals
Avoid using plastic items that are not specifically made for pets, as they might contain harmful chemicals that can leach into your hamster’s environment.
Dye-Treated Cardboard
Cardboard that has been treated with dyes or chemicals should be avoided, as it can pose a health risk to your hamster if they chew on it.
Non-Breathable Materials
Avoid using materials that can trap moisture, such as certain types of foam or synthetic fabrics, as they can create an environment that is too humid for your hamster.
Step-by-Step Instructions for Making a Hamster Hideout
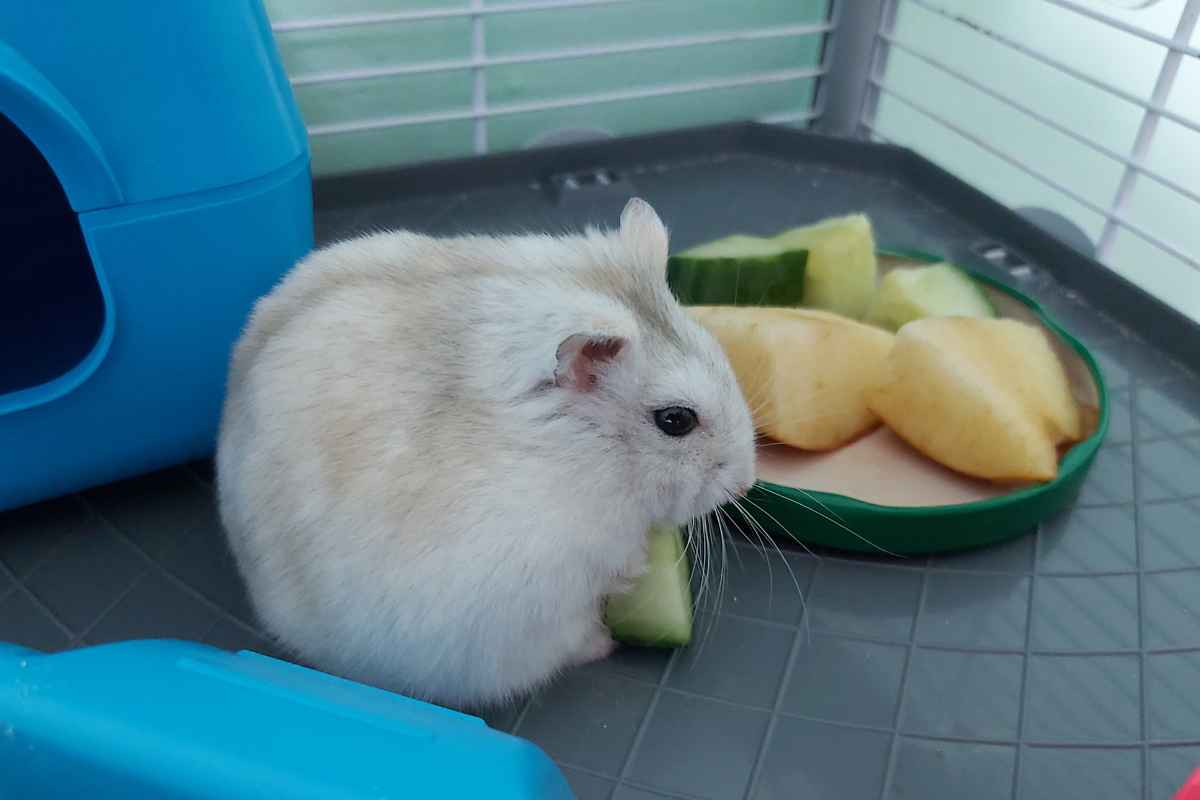
Creating a hideout for your hamster can be both fun and simple. Let’s go through a basic guide for making a DIY hamster hideout using materials you likely already have around your house.
Step 1: Choose Your Material
Select a material that suits your hamster’s personality and needs. For example, if your hamster is an avid chewer, cardboard may be a good option, while a plastic container is ideal if you're looking for a durable hideout that lasts longer.
Step 2: Create the Hideout Structure
If you’re using a cardboard box, you can start by cutting a small hole on one side to allow your hamster easy access. Ensure the entrance is wide enough for them to enter and exit freely.
If you’re using a plastic container, you can follow the same process by cutting a hole in the side or top.
Step 3: Add Bedding and Comfort
Once the basic structure is in place, it’s time to add bedding inside the hideout. Shredded paper, hay, or wood shavings make for a comfortable and absorbent bedding option. Add enough bedding to ensure that your hamster can nest comfortably, and avoid overcrowding the space.
Step 4: Personalize the Hideout
Consider adding a little personal touch by including tunnels, ramps, or extra little hideaways inside. If you’ve used a larger box, you could create a multi-level structure for your hamster to climb on.
Step 5: Place the Hideout in the Cage
Once the hideout is complete, place it in a quiet corner of the cage. Make sure it’s in a spot where your hamster can retreat in peace. Avoid placing it in an area of the cage with too much activity or direct light.
How to Make the Hideout More Fun and Enriching
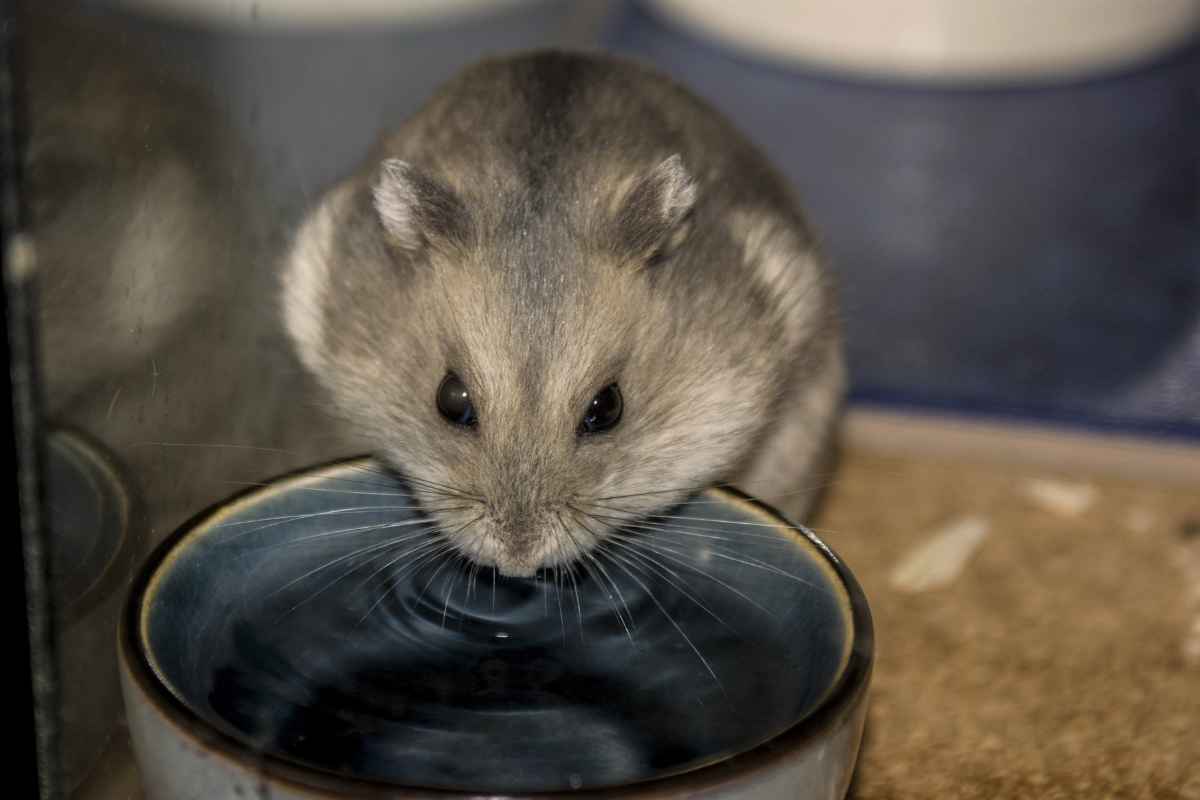
While a basic hideout provides your hamster with privacy and comfort, it’s important to create a stimulating environment that promotes both physical and mental well-being. Here are a few ways to make the hideout more enriching:
Add Tunnels or Tunnels of Cardboard
Hamsters love to burrow and explore, so adding a cardboard tunnel or two can help satisfy their natural instincts.
Make sure the tunnel is wide enough for them to move through easily. If you’re using a plastic container, you could also create a tunnel by cutting holes in the sides.
Provide Toys and Chewing Materials
Add a few safe toys or chewable items to your hamster's hideout, such as small wooden blocks, chew sticks, or untreated branches. These will keep your hamster entertained and help keep their teeth healthy.
Change Up the Layout
Hamsters thrive when their environment changes, so consider periodically rearranging their hideout or adding new items to their cage. This keeps your hamster stimulated and can encourage them to explore new areas.
How to Ensure Safety and Comfort

Hamster hideouts should provide both safety and comfort. Here are a few tips to make sure your hamster enjoys their new space:
Check for Sharp Edges
Make sure there are no sharp edges in the hideout that could hurt your hamster.
Ventilation
Ensure that your hamster’s hideout has adequate ventilation, especially if you are using plastic. Hamsters need proper airflow to prevent moisture buildup.
Check for Toxicity
Always ensure that any materials used are non-toxic. Avoid paints, dyes, or plastics that may contain harmful chemicals.
Size Matters
The hideout should be big enough for your hamster to turn around and nest comfortably, but not so large that it loses the feeling of security.
Conclusion
Creating a cheap hamster hideout is a great way to provide your pet with a comfortable, safe, and secure space without spending a lot of money.
By using simple, non-toxic materials and following these easy steps, you can create a hideout that both you and your hamster will love.
Don't forget to add some enrichment to make the space even more enjoyable. A well-constructed hideout will not only give your hamster a private retreat, but it will also help them feel more comfortable and at ease in their environment. Happy crafting!
We hope you enjoy this video about Hamsters

Source: Victoria Raechel
Did you find this post useful or inspiring? Save THIS PIN to your Pets Board on Pinterest!

You may also like