
Tail Clipping 101: How To Clip A Horse's Tail

Clipping a horse's tail is an important grooming practice that can enhance the horse's appearance and comfort.
Whether you're preparing your horse for a competition, improving hygiene, or just looking for a clean, tidy look, understanding the right techniques and tools is essential.
In this guide, we’ll cover the types of tail clips, the necessary tools, the clipping techniques, and maintenance tips to ensure the process goes smoothly.
Why Tail Clipping Is Important for Horses
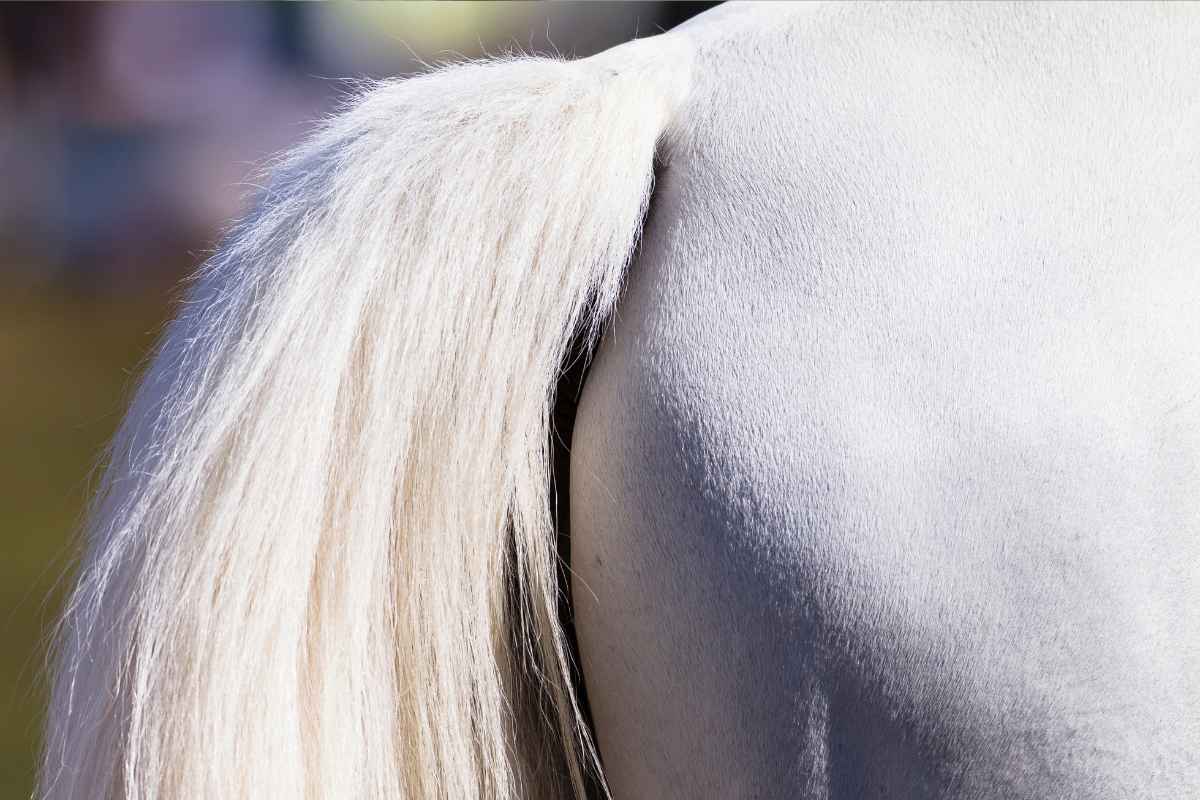
Tail clipping is often done for aesthetic reasons, particularly in competitive equestrian sports like dressage, jumping, and eventing.
A well-clipped tail gives your horse a polished, professional look. However, tail clipping also offers practical benefits.
It helps keep the tail clean and prevents it from dragging in dirt and manure, reducing the risk of infection and irritation.
Types of Tail Clips
Before you start clipping, it's important to understand the various types of tail clips and choose the one that best suits your horse's needs.
1. Hunter Clip
The hunter clip is the most common clip for competition horses. It involves trimming the tail to a medium length, keeping it clean and manageable, but still allowing it to remain natural.
This clip is especially useful for horses participating in hunter classes or other disciplines where the tail should look natural but neat.
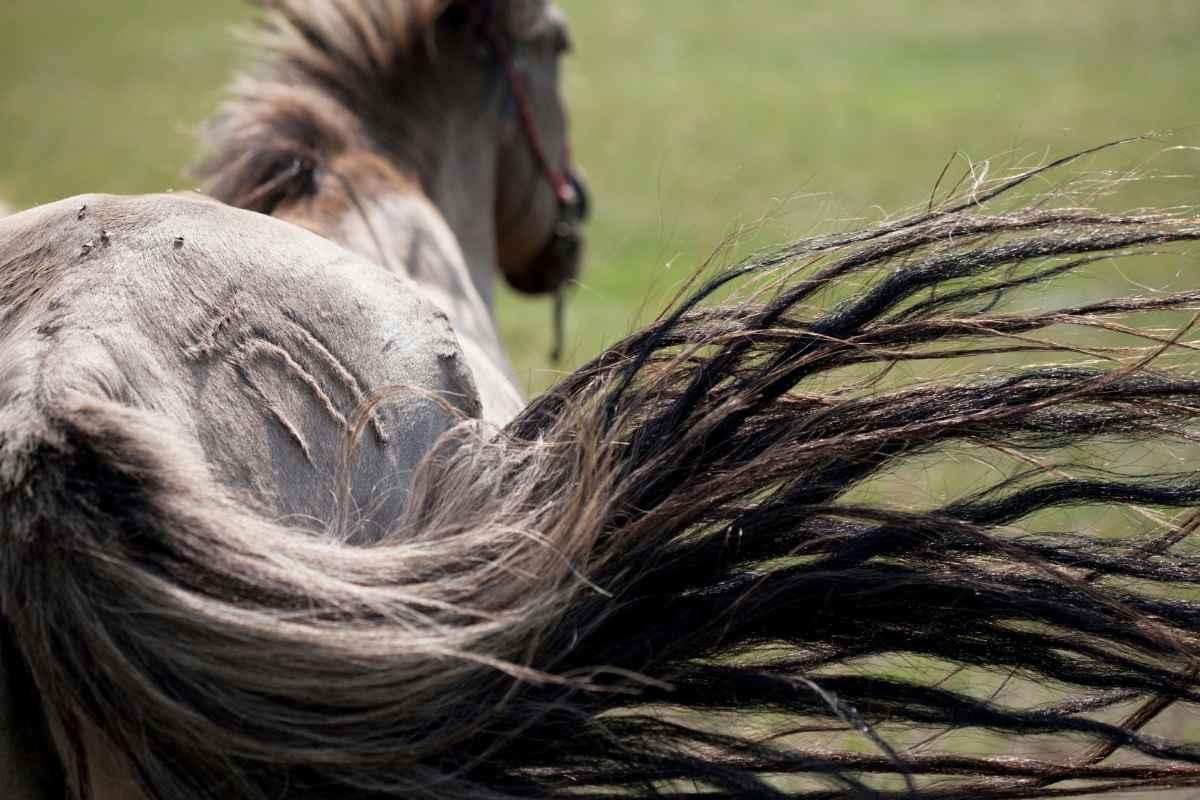
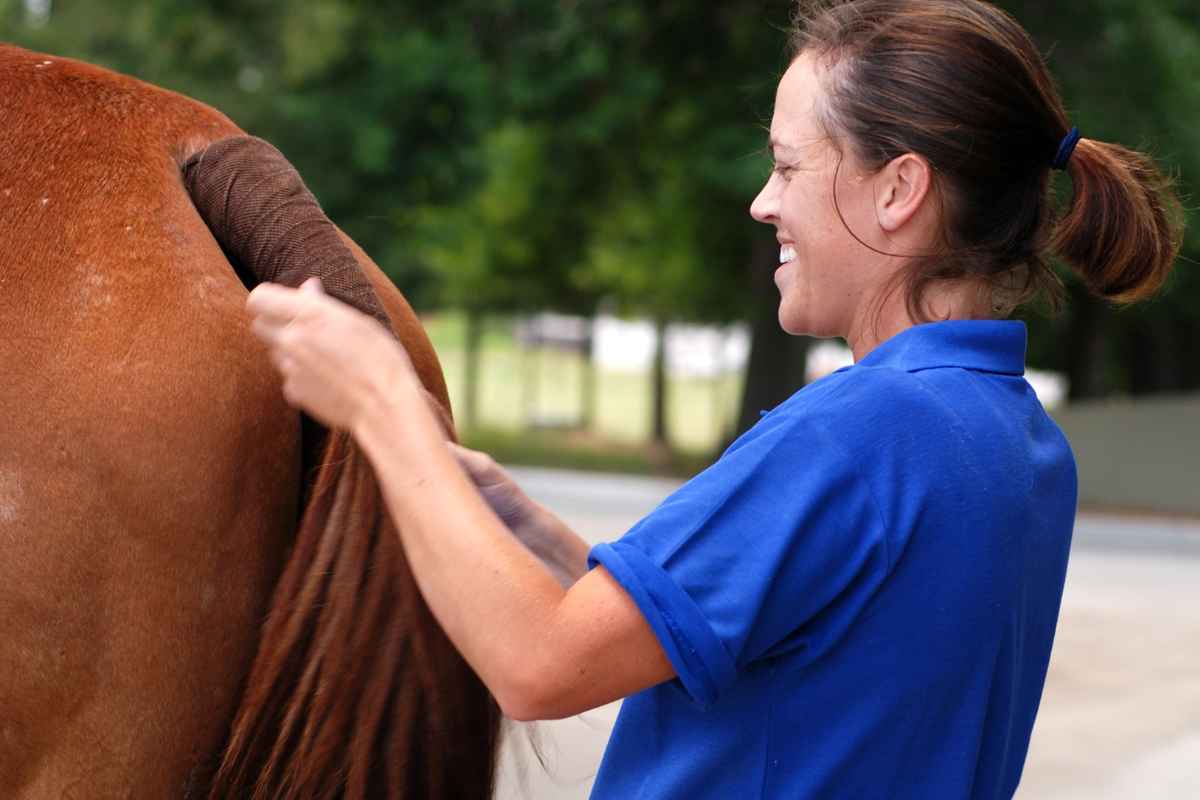
2. Pulled Tail
In this technique, the hair is not cut but rather pulled or plucked from the tail. This creates a smooth, tapered look that is highly desired in certain competitive settings. The pulled tail technique is commonly used for horses in dressage or those that require an ultra-smooth and controlled appearance.
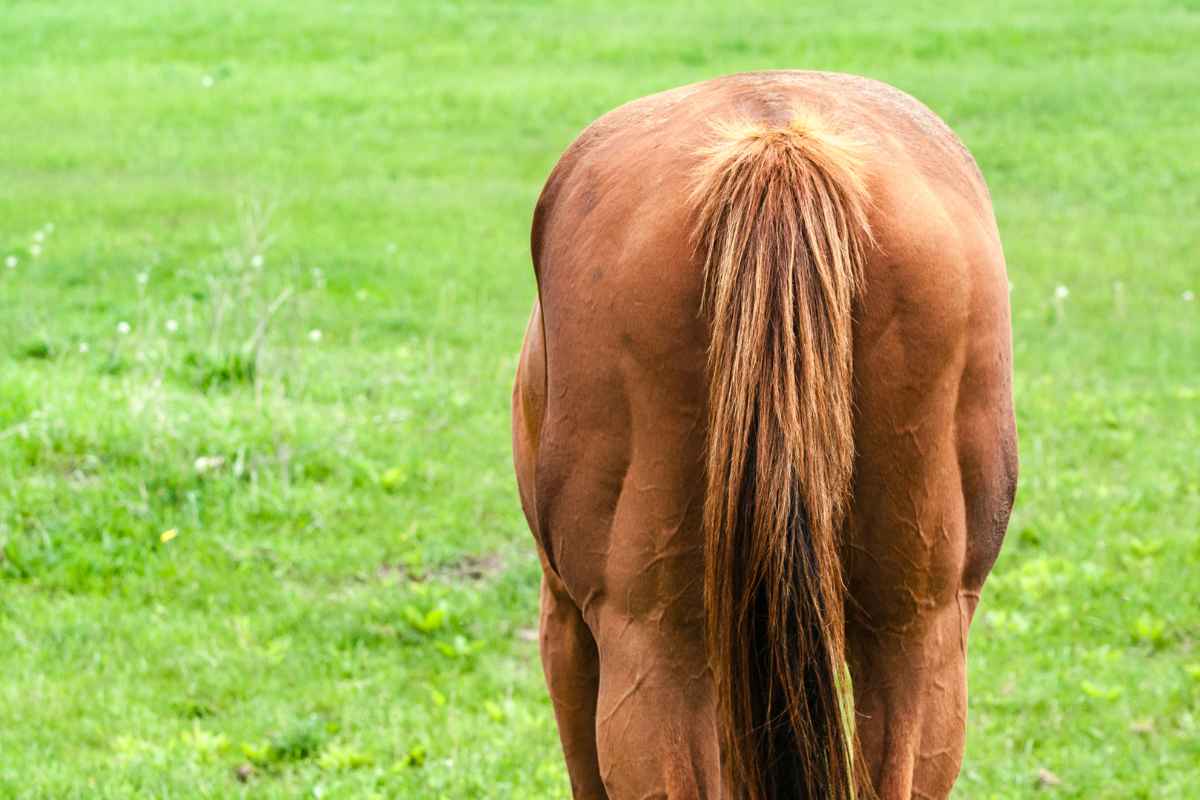
3. Banged Tail
A banged tail refers to a tail that has been cut straight across at the desired length. This type of clip is often used for western horses or in situations where a uniform and clean cut is preferred. It’s a more casual look compared to other styles but still requires precision for a tidy finish.
Tools Required for Tail Clipping
To achieve a clean, professional result, you’ll need the right tools. Here are the essentials for clipping a horse’s tail:
1. Horse Clippers
Clippers are the most common tool used for tail clipping. Look for equine-specific clippers with adjustable blades, such as the Wahl KM10 or Andis AGC2. These clippers are designed to handle thick horse hair without overheating or losing power.
2. Scissors
For finer detailing or to correct mistakes, a sharp pair of scissors can be used. The Fiskars Pro or similar heavy-duty scissors are ideal for the job. Use them for smoothing out edges and ensuring the tail length is even.
3. Combs and Brushes
Before clipping, you’ll need to comb and brush the tail thoroughly to remove tangles and debris. A dandy brush or curry comb will work best to detangle and smooth out the hair.
4. Mane and Tail Conditioner
Applying a mild conditioner to the tail before clipping can help to make the hair softer and easier to handle. It also prevents breakage during the clipping process.
How to Clip a Horse’s Tail
Now that you have the tools, it’s time to get started with the clipping process. Follow these step-by-step instructions to ensure a safe and effective trim.
1. Prepare Your Horse
Before clipping, make sure your horse is calm and properly secured in a cross-tie or stable. If your horse is nervous, consider having a helper hold the horse to keep them still. Also, be sure the area is well-lit and clean so you can see the details of the tail and your clipping work.
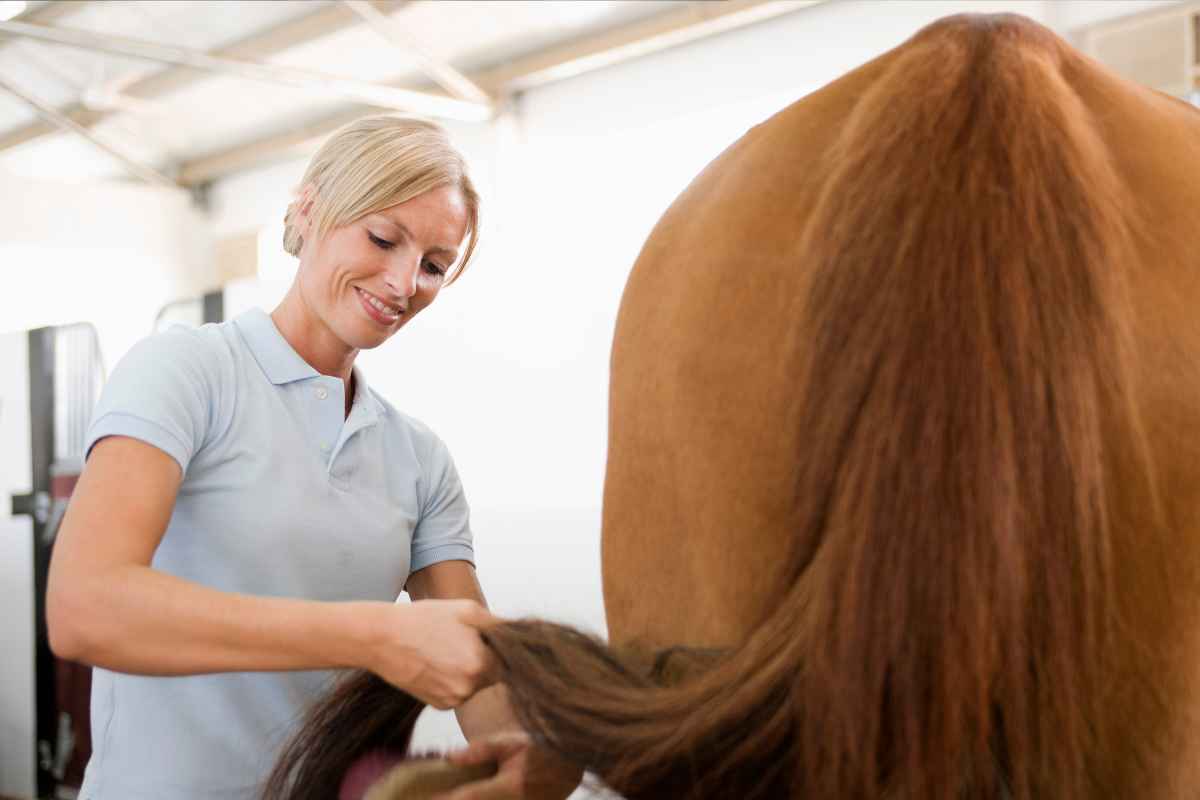
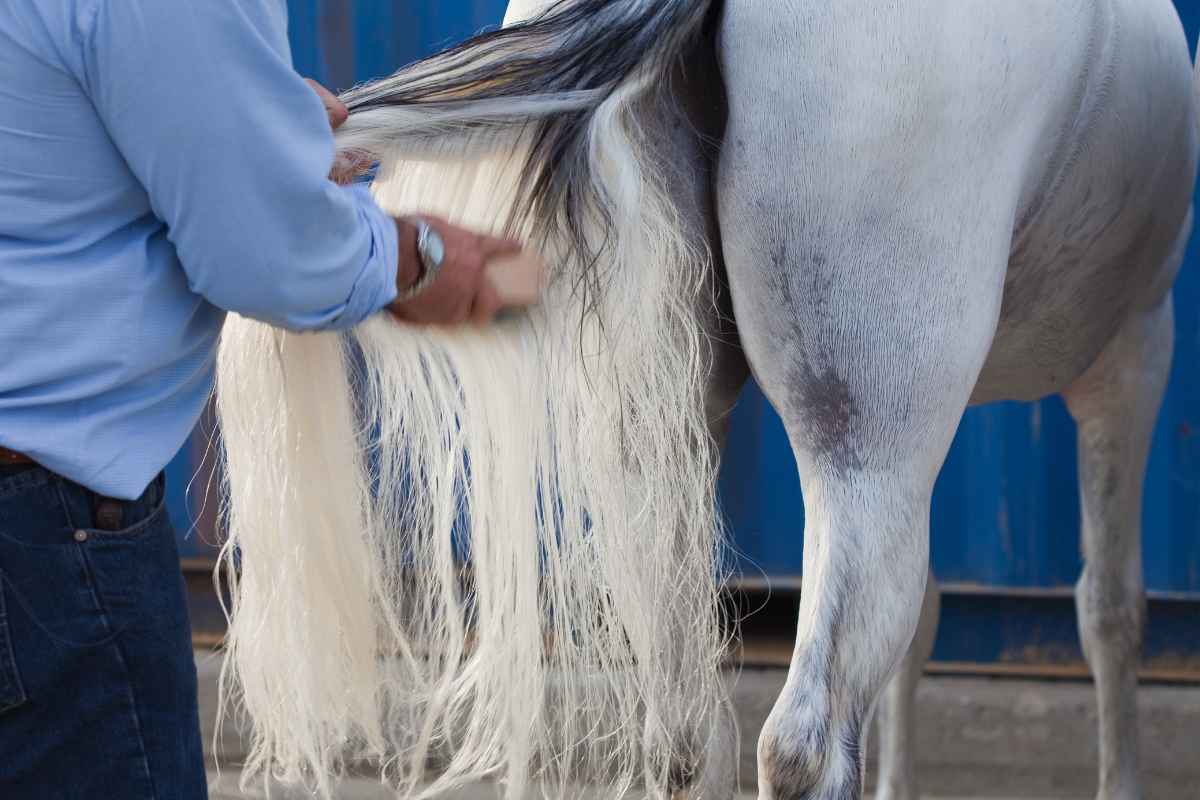
2. Brush and Detangle the Tail
Use a tail brush to gently remove any knots or tangles. Starting from the bottom, work your way up to the base of the tail, brushing through the hair as you go. This ensures that the tail is smooth and ready for the clip.
3. Choose Your Tail Clip Style
Decide which tail clip style is best for your horse, based on their activity or competition requirements. Keep in mind the length and appearance you’re aiming for. Measure and mark the desired length of the tail with chalk or a tail comb to guide your cuts.
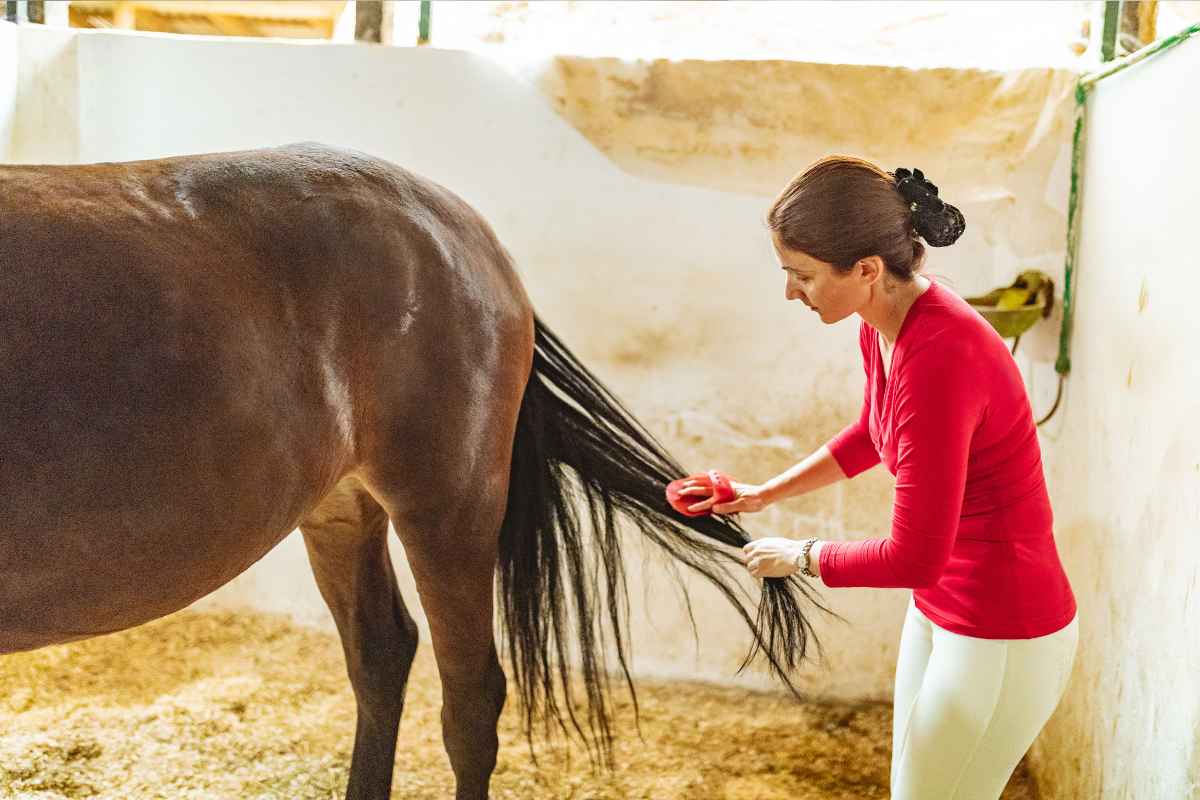
4. Start Clipping
Using your clippers, begin at the bottom of the tail and work your way up. Always clip in the direction of hair growth to avoid tugging or pulling the hair. Take your time and clip in small, controlled movements. For a banged tail, use scissors to make a straight, even cut across the tail at the desired length.
For the pulled tail, work in sections, carefully pulling hair from the base to create a smooth, natural finish. This can take longer, but the results are worth it.
5. Trim and Shape with Scissors
After clipping, use scissors to tidy up the edges. Carefully shape the tail to ensure that it has a neat, uniform appearance. Be cautious around sensitive areas such as the tail bone to avoid causing any discomfort.
Post-Clipping Care
After you’ve finished clipping your horse’s tail, it’s essential to follow up with proper aftercare to maintain the health and appearance of the tail.
1. Clean the Tail
After clipping, rinse the tail with lukewarm water and mild shampoo to remove any leftover debris or clipper oil. Apply a leave-in conditioner to keep the hair soft and moisturized.
2. Regular Maintenance
Clip the tail every few weeks, depending on the growth rate and desired appearance. Regular grooming, including brushing and detangling, will keep the tail looking its best. If you’ve done a pulled tail, consider regular maintenance to ensure the tail remains smooth and tapered.
3. Check the Tail for Irritations
Inspect the tail for any signs of irritation or infection, especially if you used clippers around sensitive areas. Keep the tail area clean and dry, and avoid over-clipping, as this can cause discomfort.
Maintaining Your Clipping Tools
Proper maintenance of your clippers and scissors is crucial for long-term performance. Here are a few tips:
Clean your clippers after each use with a clipper brush and disinfectant to remove hair and bacteria.
Lubricate the blades regularly to prevent them from overheating and ensure a smooth cut.
Sharpen scissors and clippers as needed to maintain their effectiveness.
Conclusion: A Well-Trimmed Tail for a Tidy Appearance
Clipping your horse’s tail is an essential grooming task that requires the right tools, technique, and aftercare.
Whether you’re aiming for a sleek, professional look or simply want to keep your horse comfortable and clean, mastering the art of tail clipping can make a big difference.
By following these steps, you’ll not only improve your horse’s appearance but also ensure their health and comfort.
We hope you enjoy this video about Horses
Source: WSS EQUESTRIAN
Did you find this post useful or inspiring? Save THIS PIN to your Pets Board on Pinterest!

You may also like