
- Urbaki Pets
- Reptiles
- How to Make a Bioactive Enclosure
How to Make a Bioactive Enclosure
13/09/2024 · Updated on: 16/10/2025

A bioactive enclosure is a miniature ecosystem where plants, microfauna, and your pet work together to keep the habitat cleaner, healthier, and more natural.
Done right, it reduces odor, cuts down on deep cleans, and gives animals space to exhibit species-appropriate behaviors like digging, foraging, and exploring.
Below you’ll find a clear, step-by-step plan—with measurements, safe plant ideas, and practical maintenance—to help you build a stable habitat from day one.
What You’ll Build (and For Whom)
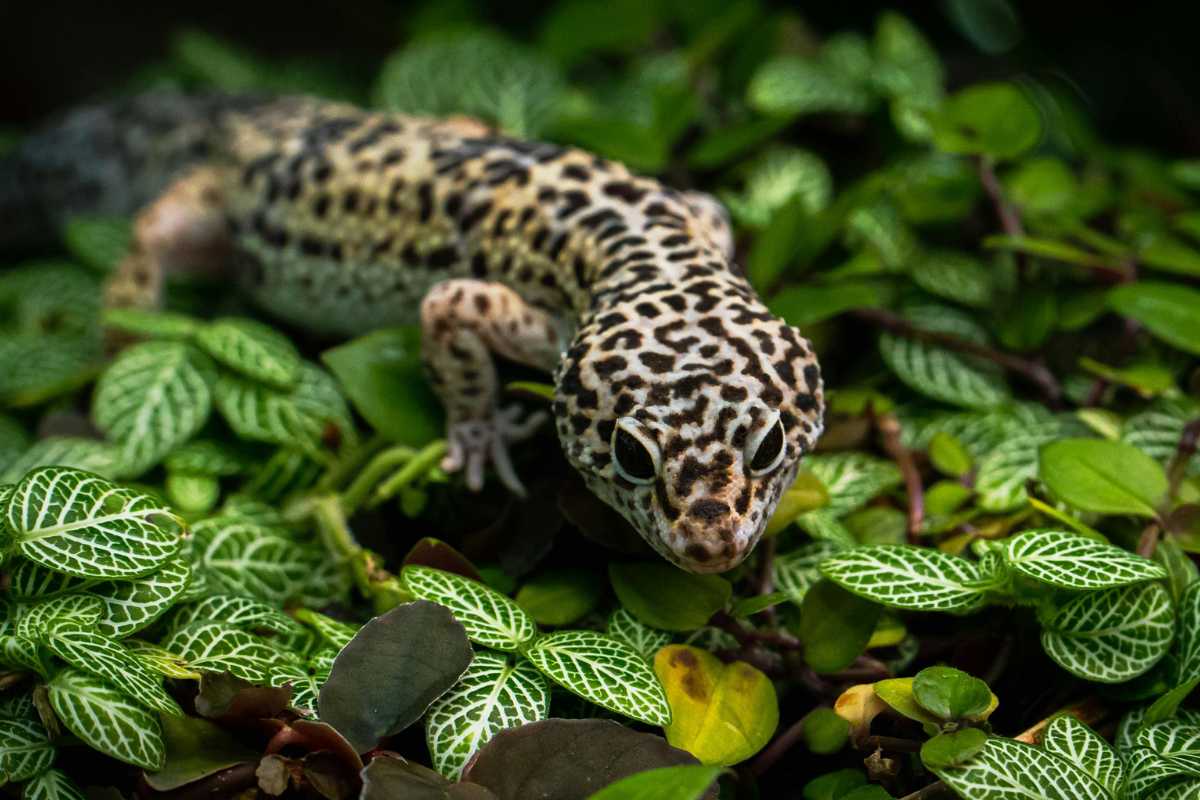
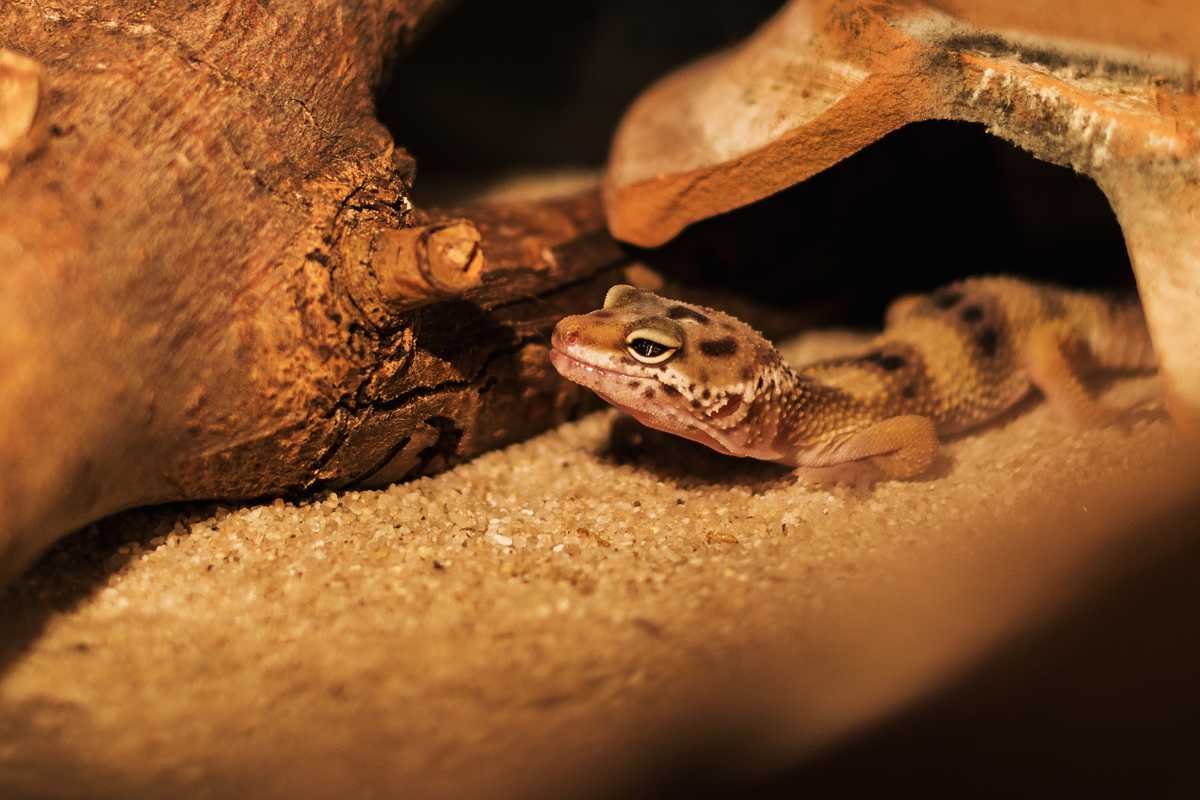
Not every species thrives in a bioactive setup. It shines for many arboreal or tropical reptiles and amphibians (crested geckos, dart frogs), temperate forest dwellers (some skinks and geckos), and many invertebrates.
Exercise caution with desert species (specialized low-moisture plants and sustrates), burrowers prone to impaction, or animals with strict humidity needs.
When in doubt, tailor the substrate depth, humidity, and UVB to your specific species.
Before You Start: Quick Safety & Prep
Ventilation: Ensure cross-ventilation or a secure top with mesh; stagnant air breeds mold.
Quarantine plants: Rinse roots, remove nursery soil, and soak foliage in plain water to reduce pesticide residues.
Biosecurity: Wash hands and tools; never import outdoor soil.
Measure the interior: Plan for 3–5 cm (1–2 in) of drainage layer, a mesh barrier, and 8–15 cm (3–6 in) of substrate, depending on the species’ digging needs.
Tools: Termohigrómetro, infrared thermometer, mist bottle, and timers for lights.
Materials at a Glance
Drainage layer: LECA (expanded clay), lava rock, or hydroballs (3–5 cm / 1–2 in).
Barrier: Landscape mesh or fiberglass screen to separate water from substrate.
Substrate “ABG-style” base: A balanced mix that stays airy and drains well. For a versatile tropical blend:
2 parts coco fiber (or peat-free equivalent)
1 part orchid bark (fine)
1 part sphagnum moss (shredded)
1 part leaf litter (top-dressing + mixed in)
Optional: a handful of charcoal for odor control
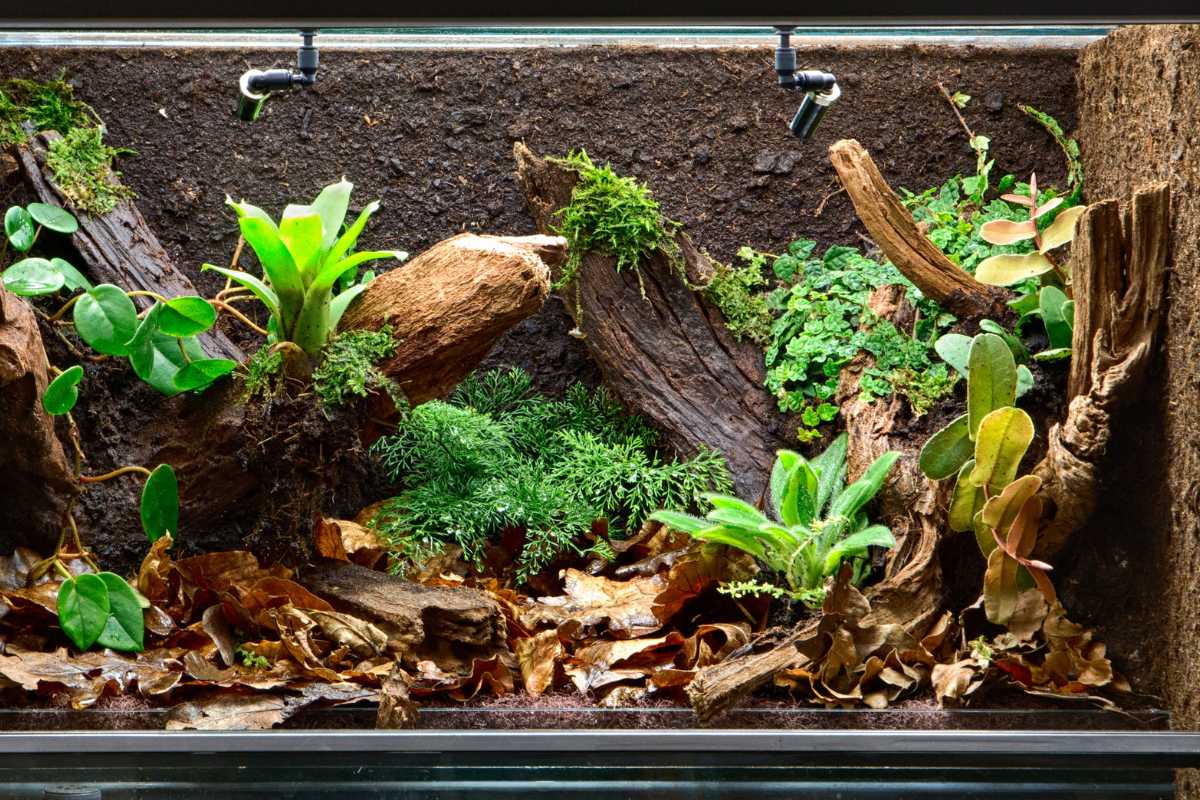
Leaf litter & cork: For cover, microfauna habitat, and moisture buffering.
Cleanup crew: Springtails plus isopods matched to your biome.
Plants: Non-toxic, well-matched to your temperature, humidity, and light.
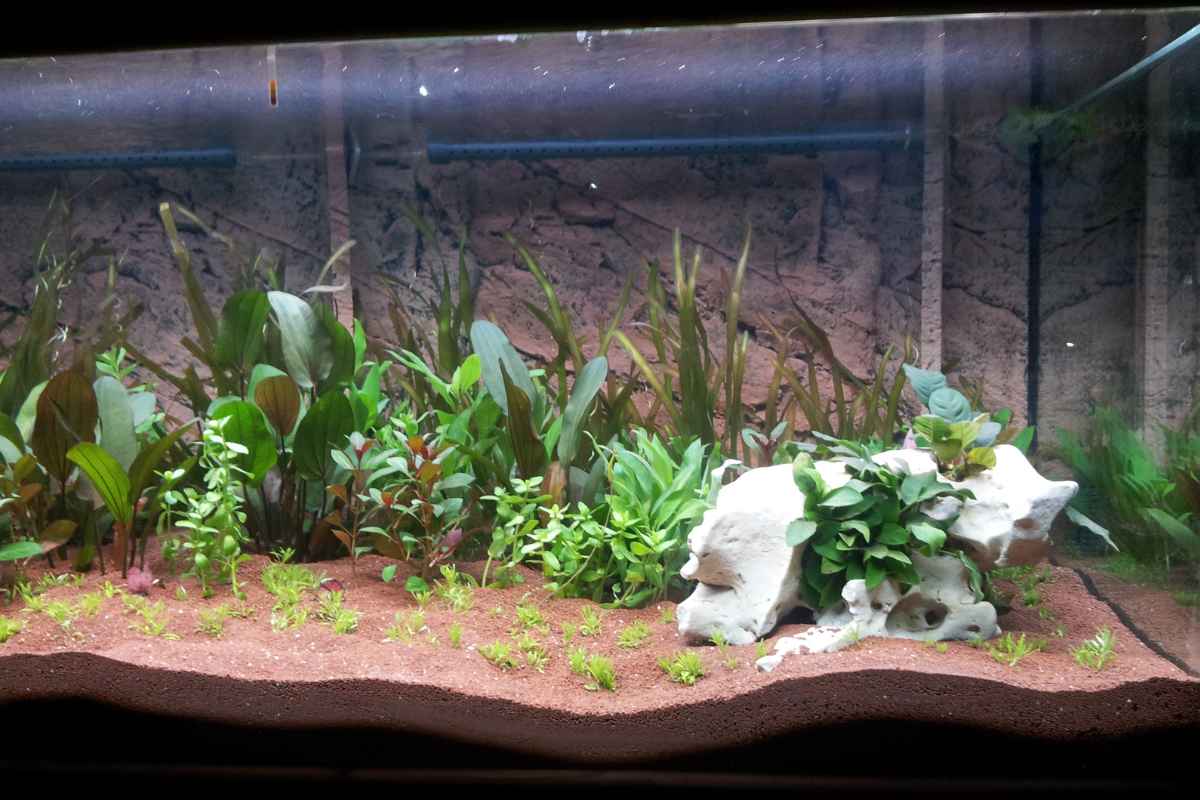
Step-by-Step Build
1) Lay the Drainage Layer
Add 3–5 cm of LECA or lava rock and level it. This catches excess water and prevents the substrate from turning swampy.
2) Install the Mesh
Cut landscape mesh to size and tuck it in so it forms a neat barrier. This keeps substrate out of the drainage layer and reduces anaerobic pockets.
3) Add Substrate (8–15 cm)
Pour in your ABG-style mix. For diggers, go deeper toward the back to create a natural slope. Lightly moisten so it clumps but doesn’t drip—even moisture, not mud.
4) Hardscape & Planting
Place cork rounds, driftwood, rocks (stable and partially buried) before planting. Add plants by washing roots and tucking them into pre-formed holes; backfill gently. Top with leaf litter to feed microfauna, retain humidity, and protect roots.
5) Seed the Cleanup Crew
Introduce springtails first; they’ll graze on mold and detritus. Add isopods suited to your habitat (see below). Mist lightly so microfauna settle into the leaf layer.
Lighting, Heat & Humidity (Dial It In)
UVB lighting: Many diurnal reptiles need UVB for calcium metabolism; choose the correct UV index for your species and mount at the recommended distance.
Plant growth light (PAR): If your UVB isn’t plant-friendly, add a full-spectrum LED to support healthy foliage. Aim for 10–12 hours of light daily on a timer.
Thermal gradient: Provide a warm side and a cooler retreat; verify with IR thermometer.
Humidity control: Mist, use live plants and leaf litter, and monitor with a hygrometer. Adjust ventilation or add moss pockets as needed.
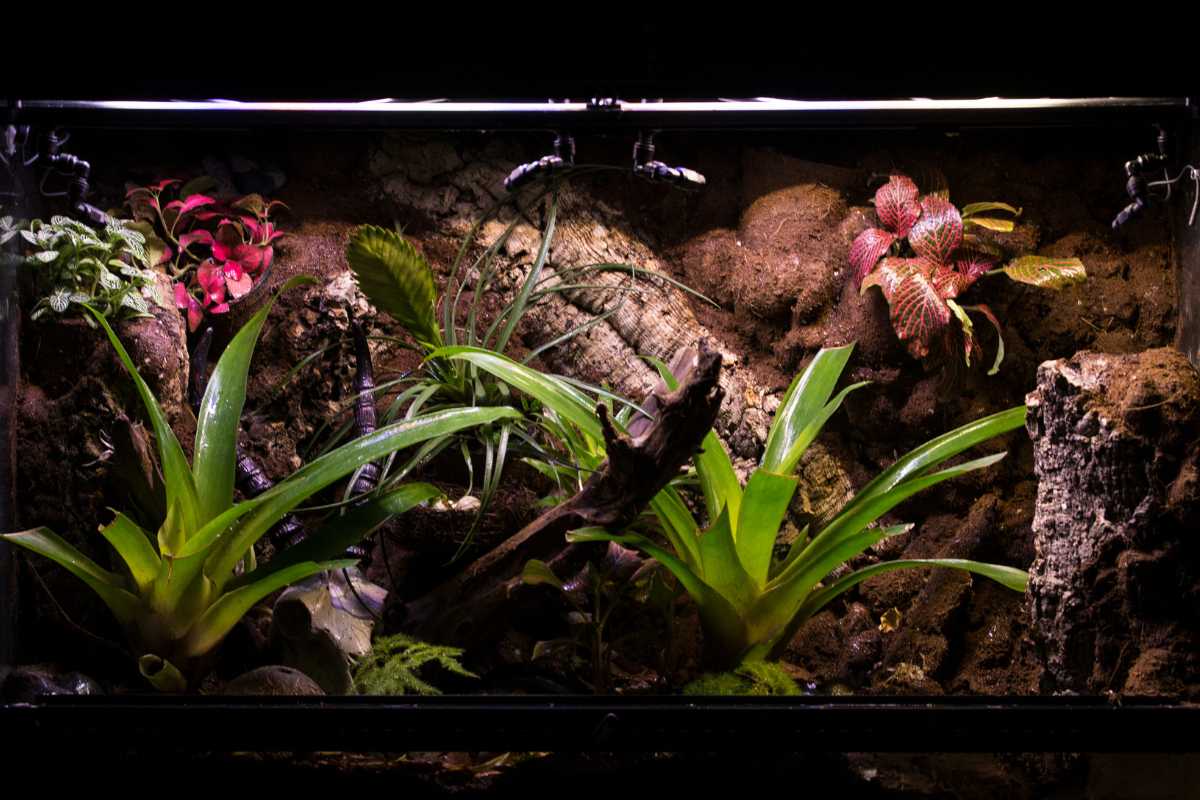
Plants That Behave Well
Tropical / Humid
Pothos (Epipremnum), Philodendron micans, Scindapsus, Peperomia, Fittonia, Ferns. These handle higher humidity and provide cover. Avoid known toxic species for your animal and secure vining plants so they don’t smother the habitat.
Temperate / Moderate
Spider plant (Chlorophytum), English ivy (use with caution), Tradescantia, small ferns. Keep soil evenly moist, not wet.
Arid / Semi-arid (advanced bioactive)
Focus on sandy, mineral-heavy substrates and low-water plants like Haworthia or Aloe (non-toxic species), with very limited misting and max ventilation. This category is tricky—research your species thoroughly.
Tip: Always verify plant non-toxicity for your specific animal, and prune regularly to maintain airflow.
Choosing the Cleanup Crew
Tropical: Dwarf White isopods (Trichorhina tomentosa) + springtails are resilient, small, and great for high humidity.
Temperate: Armadillidium vulgare, Porcellio scaber handle moderate conditions; add springtails for mold control.
Arid: Microfauna struggle in low moisture; keep a localized humid refuge under cork with leaf litter, or consider a semi-bioactive approach.
Feed crews sparingly (fish food flakes, a bit of vegetable, or isopod diet) once the system matures. Overfeeding causes booms and odors.
The Cycling Period: Patience Pays
Plan 2–4 weeks of cycling before introducing your pet. During this time:
Keep lights on a timer and maintain target humidity/temperature.
Watch for microfauna activity, early mold (normal), and plant adaptation.
Spot-remove any persistent fuzzy growths; springtails will handle the rest.
If water pools at the bottom, reduce misting or increase ventilation.
Only add your animal once the habitat feels stable, odor-free, and alive—new leaves, active isopods, and no soupy substrate.
Weekly & Monthly Care (Simple & Consistent)

Weekly (5–10 minutes):
Check hygrometer and temperature and adjust ventilation or misting.
Spot clean sheds and waste; leave tiny crumbs for microfauna.
Lightly mist plants; fluff leaf litter if it compacts.
Monthly:
Top up leaf litter and a pinch of isopod food if populations dip.
Trim plants to maintain airflow and sightlines.
Inspect the drainage level; if saturated, wick water out with tubing or a turkey baster.
Seasonal:
Review UVB output (tubes typically need replacing every 6–12 months depending on type).
Refresh a small portion of substrate if it compacts; never replace everything at once unless necessary.
Troubleshooting Without Panic
Surface mold after setup: Normal in new builds; rely on springtails and reduce over-misting.
Funky smell: Signals anaerobic conditions—improve ventilation, stir the top centimeter of substrate gently, and remove water from drainage.
Isopod boom: Feed less; increase ventilation; add more leaf litter for grazing.
Plant decline: Check light intensity and root moisture; many failures are low light or waterlogged roots.
Wet corners / pooling: Siphon from the drainage layer and reduce misting frequency.
Quick FAQs

How deep should the substrate be?
Aim for 8–15 cm (3–6 in); go deeper for diggers and burrowers.
Do I need UVB?
If your species is diurnal and requires UVB, yes—match the UV index to the species and fixture distance.
How long to wait before adding the animal?
Typically 2–4 weeks of cycling, or until the enclosure shows stable readings, fresh growth, and no persistent odors.
Can I go bioactive for desert animals?
It’s possible but advanced; keep low moisture, high ventilation, and mineral-rich substrate. Research carefully.
Do I still clean?
Yes—spot clean and maintain your cleanup crew. Bioactive reduces deep cleans; it doesn’t eliminate care.
Bring Your Little Ecosystem to Life

A well-planned bioactive terrarium rewards you with lower maintenance, richer behaviors, and a natural look that just keeps getting better.
Focus on good drainage, a breathable substrate, appropriate lighting and humidity, and a sensible cycling period.
With steady, small routines—and the right plants and cleanup crew—you’ll watch a living system take root and thrive, day after day.
Enjoy The Video About Reptiles

Source: ChiefSweetsUniverse

Urbaki Editorial Team is the collaborative byline behind our pet-care guides. Our writers and editors turn evidence and real-life experience into clear, humane advice on training, wellbeing, nutrition basics, and everyday life with animals. Every article is planned, written, and edited by humans, fact-checked against reputable veterinary sources, and updated over time. This is an editorial pen name—see our Editorial Policy. Educational only; not a substitute for veterinary advice.
You may also like